
Import the model in bryce and ungroup it. Select the flame part of the model. This flame was built up with multiple meshes and makes a pretty good flame shape.

Go to Edit on the top screen menu and select the texture shown below. I'm pretty sure it comes with B3D. That is I don't think it's one of mine or one I downloaded.

Once selected, push 'M' for the material editor. In the channel box (upper left) push the DTE button as shown below.
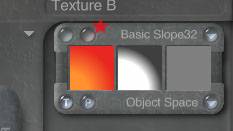
In the component 1 box change the middle color from the deep red to a nice bright yellow color.

Select OK to close and set up the other channels in the material editor to match the settings below.

Once done, click the check mark and then in your scene create a radial light. Re-scale and vertically stretch the light to approximate the shape shown below.
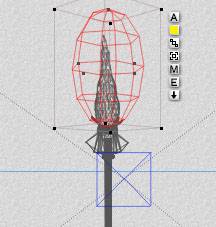
Clicking 'E' for edit, set all settings for maximum brightness.
Here's the result with materials applied to the whole torch model.
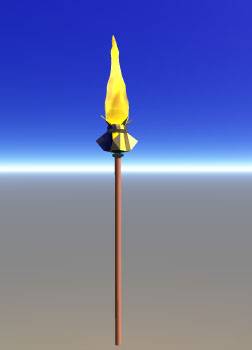
The effect is enhanced in a darkened room. The radial light will cast shadows from the area around the torch. Remember, like all of our models this one is ungroupable so you can delete the torch handle itself and just use the flame if you wish.
Experiment with your radial lights. Add some more, use texture gels, etc............
Bryce is by no means the best program for creating flames, however, given a little tweaking, a usable model can be created. Give it a try.
Ed Baumgarten
www.stewstras.net/baument/downloads.htm